Cleaning bird feeders guide
If you ever wondered if bird feeders ever need washing, you're not wrong. Its vital you clean bird feeders at least once a week to prevent the spread of bacteria.
Its vital you put as much effort into cleaning bird feeders as you do filling them up with food. Feeders will slowly build up of grime and bacteria with birds spreading diseases if not cleaned up regularly. You only need to soak them in hot soapy water before giving them a scrub.
Cleaning bird feeders happens outdoors only, with use of a bowl and hard brush to clean them thoroughly inside and out.
Bin bag or wheelie bin needs to be setup to dispose of any gunk build up without needing to remove the protective gloves you should always be wearing.
Well wearing gloves at all times, prepare your area by positioning the bin bag within reach well dismantling the bird feeders if possible.
Cleaning techniques help tackle the hard grime build up, but soaking it in hot water with the use of Fairy up liquid would create a strong liquid to remove grime and bacteria.
After a thorough clean its possible to let the feeders air dry, well all soap build up must now be removed as to not leave slimy marks.
If you have garden hose or pressure washer to hand, then use that as the better option.
Well taking into consideration what materials bird feeders are made of, its vital you take care not to damage them, usually by scratching.
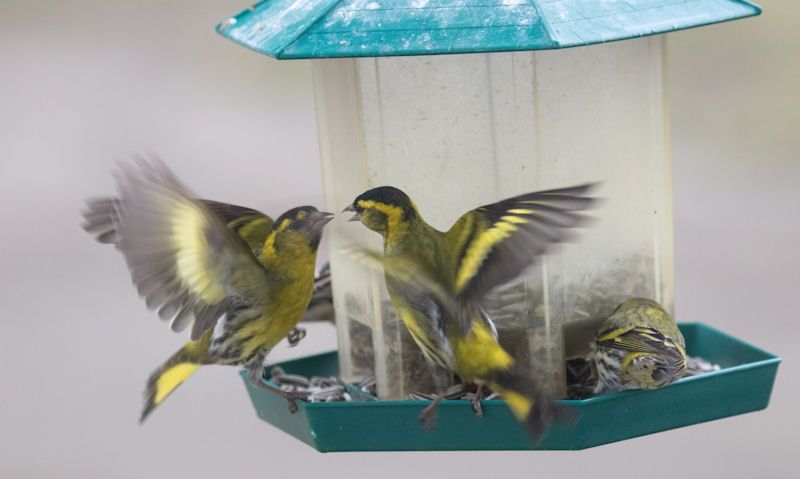
Birds can detect grime and dirt, so if you're ever going to attract birds to your garden you better leave out clean feeders only, along with fresh food.
Feeders to clean are for holding peanuts, seeds, mealworms and fat balls, so you have to wash or scrape up grime as well has oil.
And don't forget, all corresponding fixtures and fixings need a clean; poles, brackets, ropes, chains, hoops and hooks.
Please Note: when cleaning bird feeders, its highly important you consider your own safety by using protective gloves and never touch your face with said dirty gloves.
Outdoors only
When cleaning your set of bird feeders it must be outdoors at all times, never bring used feeders inside the home.
An harmful bacteria may be on feeders which could be transferred to items around your home, with the possibility of family pets coming into contact.
Keep the cleaning of bird feeders outdoors in the garden, preferably in an area where the dirty water can drain away.
And certainly keep clear of areas where pets frequent or children play.
Once setup on a suitable spot within the garden, its time to prepare.
Preparation
Now you have a place in the garden that is close to a drain or an area for the water to run away, lets delve into a few preparation techniques as you're outside.
Preparation must happen before you ever begin cleaning the feeders.
That goes for not removing hangers from feeders, moving the bird feeder or dismantling any feeders at this time.
There're three things to do before anything this happens...
Open bin lid or waste bag
If you bin is a wheelie one bring it down or up the garden to the area where you're cleaning the feeders, just make sure its within arms reach.
The lid must be open and ideally you'd want to open a bag that's already in the wheelie bin so you can fill it up with gunk or rubbish accumulated from the feeders.
Pick a waste bag that is full up a little already, that way the access water or moisture from cleaning will be soaked up in the mix of rubbish present in the bag.
Well the use of the wheelie bin makes for a useful way to hold up the bag, a single black bag can be used but remember the wet contents thrown in will leak through.
So with that in mind, we recommend you start with a used bag rather than a new one.
Dismantle to clean
Well not a possibility on most feeders, the hanging variety will offer a way to dismantle it entirely or partially.
There's all types of hanging bird feeders available the manufacturer puts together on the assembly line, so if they can be assembled, they can be taken apart.
Look to the manufacturers manual that comes with the product before attempting to dismantle, or you could refer to there web site to look for cleaning instructions.
This involves pulling the joints apart rather than unscrewing, and just as long as you remembered how you pulled it apart, it should be easy to put back.
Advantage of dismantling bird feeders makes it incredibly easy for you to clean the interior to get at the tough grime build up in tight areas.
Know where you can't dismantle feeder it should be easy enough to clean regardless.
Cleaning techniques
Dismantled or kept whole, we offer you a few cleaning techniques you can get to work on the feeders for your convenience.
Well obvious to most, its still quite possible to forget this well scrubbing and brushing intensively, when a good soak just may make things easier.
And remember all this equipment we've suggested should already been laid out beforehand so you don't have to remove the rubber gloves or step back in the house.
Soak in hot water
With a plastic bowl big enough to take your feeders, fill it up with boiling hot water in washing up liquid.
Before the water cools down we recommend you dismantle or prepare the feeders first as to not waste time putting them into the water.
You will have up to a good 10 minutes for the water to stay hot, in which time it will soak into the gunk, softening it up - it would be up to your to wipe away the rest of the grime.
Use long, solid stick to pick at buildup
No need to use a purpose made poker or any object found around the house for this. Simply use a stick or branch found in the garden as a poking device.
This device could now be used to scrape off the grime in difficult to reach areas within the feeder, will smaller sticks used to scrape off grime on the outside.
Make it a solid stick but make sure its not a sharp edge one. In the case of plastic tube feeders we don't want you to scratch up the plastic interior.
Rinse off with water
You've soaked the bird feeders in the bowl for a short while before removing them to scrape off grime with sticks or a branch.
Once all grime is removed, don't allow it to air dry in this condition.
Its still possible to get a built up of grubby soapy grime if not washed away, so with that its vital you rinse the feeders - inside and out - with water.
Hot or cold water is fine, just as long you clean the feeder of soap. All it takes is to refill the bowl with water and pour it over the feeders from a height to create a little force.
Dry out with rag, allow time to dry in sun
There's no need to dry the feeders with a rag of sorts as it more hygienic to just allow them to dry out in the open.
With the sun shining just locate the bird feeders in direct sunlight, though if its winter with no sun, you should still allow them to air dry - it will just take longer.
When drying say mesh peanut or caged fat ball feeders its doesn't matter how you lay them out as water can't get trapped.
However, in the case of a plastic clear seed or mealworm feeder, the water will stay trapped unless you put the opening face down on the surface.
Garden hose or pressure washer
You can forget all the advice above if only you had the use of a garden hose, or better still, a pressure washer to hand.
If using a garden hose we would still recommend you soak the feeder in hot soapy water, well using a hole to direct high-pressure water into the centre of the feeder.
Turn up the tap high as you can, but its possible to use your thumb to block the hose end as to create a faster, more powerful water spurt.
If using a pressure water we would advice to turn the power down as to not damage the feeder; as pressure washers are used to clean up patios or walls.
We also advice against using the treatments use in the water and stick with the reliable washing up liquid.
Toothbrush for intricate detail
With the areas on the feeders that can't be reached with a stick, branch or larger hard brush for that matter, its time to use a toothbrush.
Obviously this should be a cheap toothbrush for use with cleaning feeders only, so make it a hard brush one with a small head.
Smaller the brush head the easier it is to reach into the tight crooks and crannies.
Areas the toothbrush will be needed is the joints that overlap on the mesh wired feeders and the port holes or perches on the tube feeders.
Made from all materials
It may be a case of one technique suites all, but we must warn you to refer to the manufacturers handbook to see how the material should be treated.
Often plastic or metal bird feeders can be cleaned the old fashioned way, well feeders built using brass or copper may need special treatment.
We have to say for the most part you can just grab a brush and clean hard as you like, unlike delicate brass items around the house that need polishing, not so here...
Plastic
If its plastic you're free to clean the bird feeders as you were, though a few problems may arise if brushed to hard.
Plastic is soft therefore can be scratched with ease, so for the solid plastic coloured areas keep a close eye out before damage can be done.
Likewise, cleaning the clear plastic perspex tube will possibly leave scratches with the fine hard brushes of the toothbrush or large hard brush (similar to toilet brushes).
So apply pressure as you go, making sure to not leave marks along the way.
Stainless steel
It is possible to clean a bird feeder made from stainless steel or any metal based feeder really as intensively, carelessly as you like.
Its still possible to scratch up steel with sharp objects, but as you'll mostly be using hard bristle brushes, you should be in good hands.
Not all stainless steel bird feeders are made entirely of metal, there could be areas made from plastic, do take care with areas made from other materials.
Copper, brass
Bird feeders made from copper or brass extends to the mesh wiring to the base and top lid of the feeders.
And if made in either material, its highly unlikely to be made with plastic.
Because it made from copper or brass, it doesn't mean it will hold up just as well has other metal when cleaning, though it will still need a good scrub.
If you need to clean the copper with salted water to give it a shine again, then that's fine as long as you've washed it well beforehand.
Brass can by cleaned with a polish that can be harmful to birds, so to give your brass bird feeder a shine again; use vinegar, salt and flour to create a polishing paste.
Difficulty of cleaning wood
Its quite easy to clean all types of hanging bird feeders made from plastic or metal, but those feeders made in wood can bring there own issues.
If washing a wooden hanging bird feeder that has a top coat of paint for example, the paint will be washed off when using hot soapy water.
Likewise, if the wood feeder has a clear plastic sheet or metal fixings that need washing, the water will simply run off onto the paint before wearing it thin of its colour.
Its worth mentioning a number of bird tables with slate roofs can be treated with soap just the same, just be careful not to dislodge the slates from there position.
To help you tackle cleaning any of your wooden bird feeders, including the grand bird table on a post with stabilising legs, let's take a look at your options...
Natural wood
If you have a feeder built in natural wood with no painted coating, then its easy to clean.
And well there might be a layer of preserve, this is likely to have soaked deep into the wood when it was first applied so will not be an issues.
Feeders made from unfinished wood such as pine, beech or oak can by scrubbed with a brush or with a scrapper.
No paint finish will come off but don't apply to much pressure as you don't want to peel up the wood itself.
Painted
If you look at the small hanging bird feeders made from wood that occupy the seed, peanut or fat ball feeders, its likely to have a window to keep the feed behind.
And well it might be possible to clean the exterior with only a splash of hot soapy water, you'll need to access the interior to clean.
When enclosed bird feeders are made with a removable roof which can usually be lifted up when you insert the feed; so its this opening you use to clean the inside.
As food is stored here, its usually not finished in paint to not risk it bleeding onto the peanuts or seeds, so ruining the paint finish is minimised to the exterior only.
Stained
The use of stain is not the same as using paint or preserve, staining wood requires the stain to penetrate deep into the wood grain to dye the timber.
Its this process that makes the stain easy to clean as its impossible to wash away colour that is embedded in the wood.
Though its still possible for the stain colour to bleed into the soapy water, but it should not do any lasting damage to the feeder.
Cleaning feeders by type
Its not simply a case of all cleaning techniques suites all, as the number of bird feeder types outweighs the materials they're made from.
This makes up a complicated mess of cleaning up grime on mesh to cleaning smooth surfaces, to scrubbing tough build up on awkward overlapping wiring.
Overall, bird feeders are made from metal mesh, plastic tubes, coated wiring and basic feeding trays or dishes.
Whichever feeder you need to clean sounds familiar to you, continue reading as we lay out a few simple tips for all kinds of feeders available.
Note that it would be wise to remove all food remains left behind at first, usually at the bottom of the feeders, rather than throwing it into the water right away.
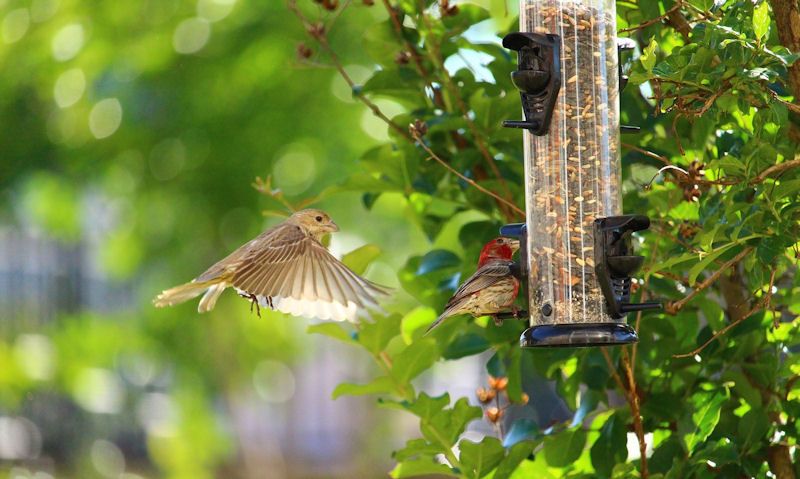
Mesh: peanut, nut feeder
Fine, overlapping metal mesh makes up the cylinder shape of the peanut or nut feeder, so needs clearing of the nutty oil build up.
Soak it in hot water before getting to work on the mesh with a toothbrush, tackling the wiring well wiping away anything caught within the lapping wire.
Metal or plastic, peanut feeders have a top and base that also needs cleaning up; here you'll have to access the feeder where the nuts are inserted to clean up any build up.
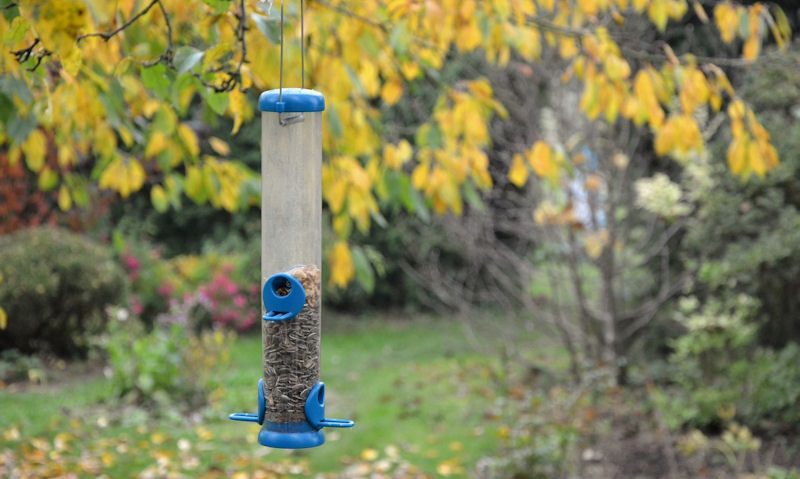
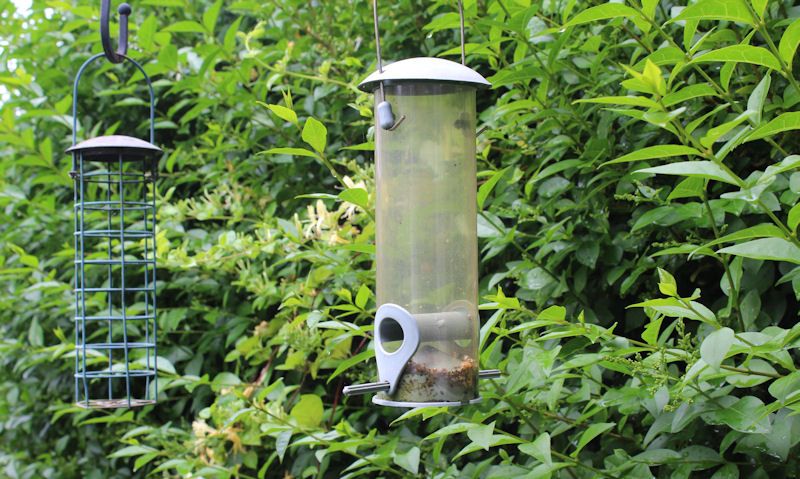
Tubular: seed, mealworm feeders
When we talk about tubular types of feeders we're referring to clear plastic tubes that usually hold seed mixes or mealworms.
Fine seeds and slippery mealworms need to be fed to birds in a plastic clear tube as to prevent the contents falling out if say mesh or wiring were to be used.
Instead, the birds are forced to feed from 2 or 3 port holes located near the bottom for where the perches are sited.
Open up the lid where the seeds or mealworms are poured into and get to work cleaning out the interior with an extended hard or soft brush.
After it has had a long soak, use a finer brush to clean around the port holes and around the perches.
Wired: suet, fat ball feeders - greasy
We have to say cleaning up the wired suet or fall ball feeders are difficult as they're, but with these types of bird feeders you will be cleaning up grease.
Fat balls and suet for birds use lard to keep the ingredients in tact, and its this lard that builds up on the wiring, as well has what builds up on the base - if there is one.
Remove any access grease with a kitchen paper towel before soaking the feeders in hot water for up to 30 minutes; remove, then restart the process over again.
Now you can scrub the plastic coated wiring with a brush, but its the paper towel that would be used to clean up any access grease.
Trays, bowls
Well ground feeding trays can be made from wood, plastic or metal, there usually have a mesh base for moisture to pass through.
So not only will you have to wash the surround that is used as a perch for all birds that land there, you'll need to scrub the base of any seeds or peanut bits.
Likewise, a bowl with a smooth base is easier to wash up but make sure the rim is cleaned up again, as birds will perch here.
Caged, squirrel proof guards
If you have a seed, peanut, fat ball or any type of bird feeder wrapped in a squirrel proof bird feeder cage, then this cage also needs cleaning.
Its vital you take our advice on board to clean up the choice of feeder contained within the cage, before you begin washing the plastic coated cage.
Ideally, you'll need to completely remove the cage to access the feeder to do a thorough job, but this will also make it easier to clean the cage without cutting corners.
Often made from a plastic, rubberised coating wrapped around metal wiring inside, as you'll need to focus on the overlapping wiring parts which is where grime builds.
Window: clear, perspex feeder
If you have a window feeder setup on your window, know that this delicate feeder also needs to be washed up once in a while.
And well the window bird feeder is likely to hold small quantities of peanuts or seeds, the sticky nut and seed oil will need washing up, and so will scraping up grime.
Remove the feeder from the window and soak it in hot water; use this time productively by cleaning up marks off your window, usually coursed by the suction cups.
Once cleaned up and dried, feel free to stick the feeder back onto the window, but make sure its completely dry before adding more feed to the tray.
Water sources
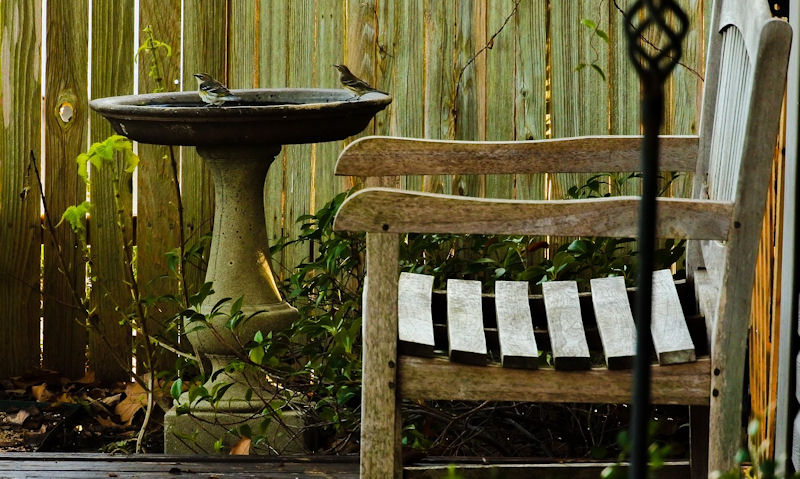
As you clean up the bird feeders, let's not neglect the water bowl or dispenser as it needs a clean up to keep it safe for birds to drink.
In the case of a bird bath simply tip out the water and replace it with hot water with a washing up liquid, allow that to soak before emptying it again.
You'll also need to give the rims or surround where birds perch a good clean.
Before setting it back up, make sure the bowl is clear of soap before refilling it with fresh water.
If cleaning a water bowl, simply refer to our advice above, but same rules apply by emptying it of water, soaking it, cleaning it - then refill with fresh water.
Things not to forget
Cleaning up the bird feeders and all bits and pieces attached is a sure thing, but you'll need to wash all corresponding fixings that may be contaminated with grime.
This includes any bird droppings or bacteria that spreads far and wide.
Things to fix the hanging bird feeders to the bird feeding station or brackets are the things to look out for, but so are those brackets and feeding station poles.
Poles, brackets
Whether you hang your bird feeders on a bird feeding station on a pole or a wall bracket, all these objects require a thorough clean.
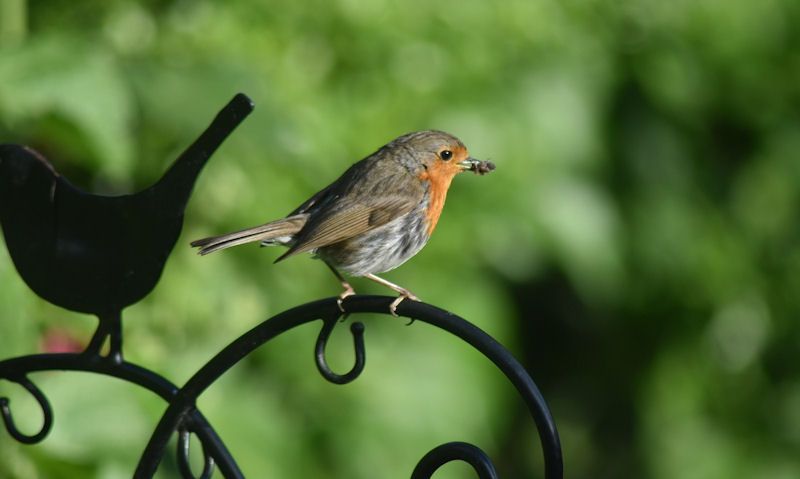
Brackets would have birds perched on them after or before they feed and drink.
Likewise, so do the complicated mix of poles and brackets on the bird feeding station, with mostly bird droppings the biggest culprit.
Before hanging the clean bird feeders back up, you'll need to give the pole and brackets and good scrub.
Ropes
Certain hanging bird feeders, partially those made from wood, use a fancy thick coloured rope to hang the feeder, including the clamps that connect to the rope.
Well its not possible to scrub clean rubes at it would cause them to fray, you can instead leave them to soak well giving them a quick wipe with a rag.
Its usually not possible to remove ropes as they're permanently fixed to feeders, so you'll need to do all this well cleaning the feeder.
Chains
Small or large chains make up the fixing for most metal based bird feeders, and would need cleaning.
Delicate chains would probably be untouched by birds, but its still possible dropping could run down it, as well has birds who perched over the connected part.
If there's a connection to unhook the chain from the feeder, we would recommend against doing so as it can be awkward to reconnect.
Hooks, hoops
Hoops that are fixed to the hanging feeders will need a thorough wash, but there's no need to remove them as you can clean them with the feeder in question.
If no hoop is connected to the feeder then a separate hook is likely to be used, which is used as a bridge between the feeder and bracket.
Hooks are likely to be perched on over the course of the week, so there is a possibility of birds pooping on said hooks, so give them a good cleaning.
Cleaning equipment checklist
Before you begin we've supplied you a quick and easy checklist to read over before you begin washing the feeders in the garden.
Not all equipment is needed but its important the cleaning agent you use is anti-bacteria; we recommend Fairy up liquid as the safest, cheapest solution.
It is possible to use veterinarian verified sanitiser or disinfectant. And well they do a good job on flat smooth surfaces, all bird feeders need a soak before washing.
If you're to use a antibacterial spray, only use it on metal or plastic trays as it will remain on the inside of feeders if not removed probably.
Other items to consider is a good size bucket to soak feeders, rubber gloves for protection, a bunch of scours, and a scraper for tackling build-up on wooden bird tables.
Cleaning fluid
When selecting an appropriate cleaning fluid to use in bird feeders, it needs to do the following; can be added to water, removes oil and be an antibacterial formula.
Fairy washing up liquid fits into all those requirements, and is probably the best, safety solution for cleaning bird feeders, or bird boxes for that matter.
You could look to specialty bird feeder sanitises but this would be better suited to areas that are spayed on, before wiping off.
What we promote is soaking feeders in hot water rather than giving them a quick spray.
Bucket for soaking
Bigger the bucket the better, but a shallow one would make it easy. Plastic buckets can be bought from anywhere, including supermarkets.
They're cheap and useful for cleaning a series of bird feeder sizes and styles, and where the feeder won't fit in all the way, we can always overcome that issues by switching one end to the other for its turn to soak.
Fill up the bucket with hot water using Fairy washing up liquid, and once done the bucket design will make it easy for pouring it away down the drain.
Cleaning brush
Those that make bird feeders just might offer a brush suitable for there own products, but don't be fooled, most hard brushes are available, and ideal for cleaning feeders.
Manufacturer's own brush cost up to 5 times more than a hard bristle toilet brush, which would do the job just fine.
Though to protect the plastic on tubular feeders it might be a good idea to seek out the same brush, but with softer bristles to prevent scratching the soft plastic.
Rubber, latex gloves
Before you begin washing the bird feeders in the garden with all corresponding equipment, you'll need to put on a pair of rubber or latex gloves.
Not environmentally friendly so make it so they can be reused, or better still use bio-degradable gloves that can be thrown away after a single use.
We would recommend rubber/latex gloves as they offer the best protection and fit.
Always wear a pair when scrubbing feeders and fixings, but when handling anything that other people use - including the wheelie bin - remove the gloves to go bare handed.
Scour
Quite possible the best piece of material used to scrub that stubborn grime and build up, for certain you'll need a scour once in a while to tackle the harder bits.
The scour can be used to clean plastic or metal feeders without damaging them, well they can be used to clean up the intricate areas a brush can't tackle.
If its good enough to clean our cutlery and dishes, its good enough to clean feeders.
Scraper
The use of a scraper - one similar to a wallpaper scraper - should be limited to use on a flat smooth surface, like that of a bird table platform.
Don't attempt to use a sharp flat scraper on a rounded feeder as it will only serve to scratch and lift up the coating.
Scrapers should be used with care as to not hurt yourself, but to not damage the wooden bird table you're cleaning up.
Provide enough pressure to lift up dirt and grime, but not so firm as to lift up the paint or finish work.
Keeping it safe for you
When cleaning bird feeders you must think of your own health at all times, so when you begin, no touching your face until you've washed your hands and arms thoroughly.
Its highly unlikely for any bacteria left behind by birds will course you any harm, but its vital you do play it safe as to not cause an infection if its was to happen.
If you have any scrapes or open wounds, apply a plaster but never allow it to come into contact with the dirty water or rags.
Keep the rubber gloves on at all times but its vital you remove them whenever you touch things people will touch bare handed.