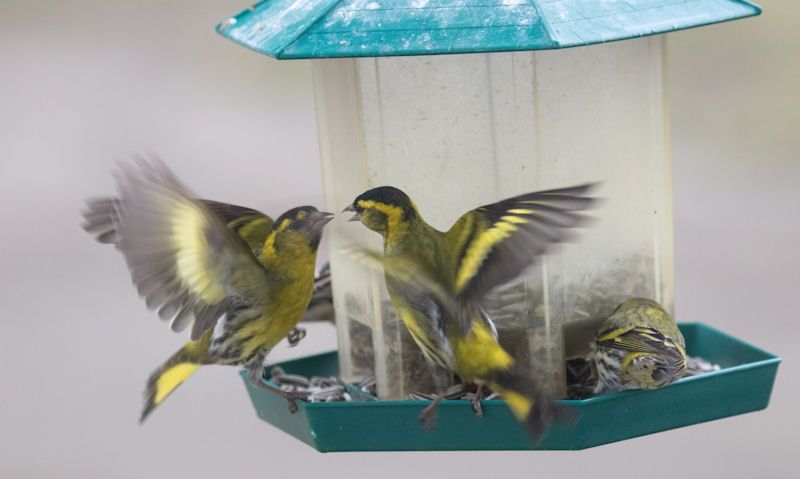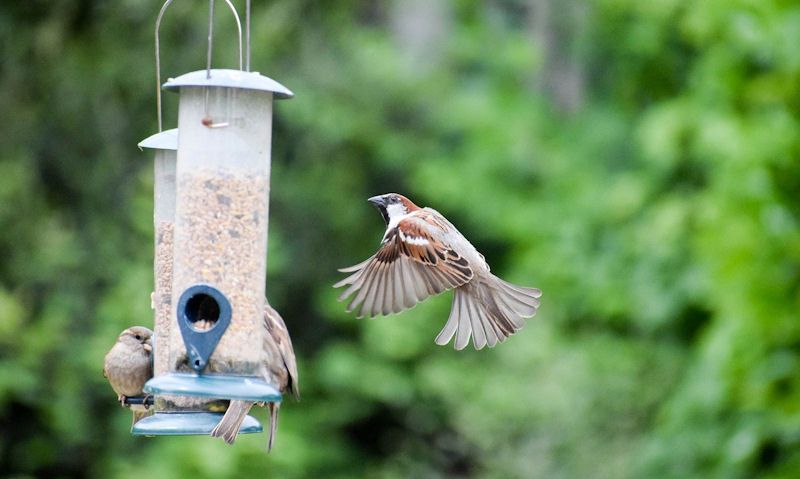
How to clean a tube bird feeder
Rule of cleaning any type of wild bird feeder is disassembling it to access all interior parts that are in contact with the bird food build up gunk.
How to clean a tube bird feeder efficiently as possible would be to disassemble it before soaking all parts for up to 10 minutes. No magic cleaning agent needed as washing up liquid is all you need for thorough clean - with a longer soaking in hot soapy water if needed. Careful as you go to avoid scratching plastic tube.
While I refer to my cleaning routine based on a classic bird seed feeder for small common garden birds, it can refer to cleaning any type of tube bird feeder to be honest.
While its possible to go hard on metal or other types of bird feeders, you must go more gentle on tube feeders as they can be prone to scratch marks.
Marks made of course by going too hard with a hard brush or brand new rock hard scourer.
Instead then its best to go gently every step of the way with a focus on the clear plastic tube being more in danger of scratches than other parts in use.
Disassembly is easy to do but can be important just as much when pulling the sections apart - as to avoid damaging the tube bird feeder in the process. As a rule of thumb though, people don't often experience any real issues when disassembling.
Take onboard my advice to clean any type of bird feeder, be it a clear plastic tube for seeds, pellets, mealworms or an open plastic bird feeding tray - as to not damage them while cleaning.
On the otherhand, each type of bird feeder can disassemble very differently, which you'd need to read the instructions supplied.
Carefully disassemble
To give the plastic tube bird feeder a proper clean, you'd need to carefully disassemble all parts as to access all areas in touch with the feed.
Only once the tube feeder has been pulled apart can you only then proceed with a clean.
Standard way to disassemble a classic tube bird feeder of any type, in which its made for use with bird seeds mixes, is this...
Simply lift up the lid as far as it would go, so only then can you unhook the lid from the metal bar that usually occupies two-hole points for use as a frame to hold the hanger for hanging.
Similarly, you'd want to now remove the base of the bird feeder which tends to be a little easier to do.
All you'd need to do to remove the base part of the tube feeder is to unscrew the two perches - which need to be removed independently. If the perches can't be unscrewed then it could be the whole base that must be twisted to be pulled off.
As the perches act as a way to keep the plastic tube firmly in place, once removed all parts are now ready for a hot soapy water bath.
Soak all parts for 10 minutes
Now that you got all parts ready you should have something like: the clear plastic tube, 2 perches, a steel bar, steel hanger and lid top - so up to five parts.
To make it easy on you, you do need to give these metal/plastic parts a thorough soaking in steaming hot water of washing up liquid.
No need for anything fancy or at extra expense; if washing up liquid is good for dishes its perfectly OK to remove grime off bird feeders.
To only soak for a few minutes or not soak at all, you'd sure make it difficult to remove the stubborn build up of congealed seeds, so soak for up to 10 minutes or more.
After ten minutes have passed you'd need to test a part of the tube bird feeder, probably the base where bird seeds gather most - to see if the gunk can be rubbed off with ease.
Never mind if it doesn't mind as we are going to give it a good scrub with a scourer in certain areas, or with a soft brush in hard to reach parts.
Often made in flimsy plastic tube feeders are, so you can't go rub or wash them too aggressively as it risks scratches.
Tube Feeders NOT scratch-resistant
When cleaning bird feeders that are the clear plastic tube kind, they are always going to be more delicate when disassembled.
Result of that is all areas made in plastic are going to feel lighter, yet more flimsy.
But in case of the clear plastic tube that contains the seed mixes, this part is going to feel especially fragile to hold, but more so to clean.
In an effort to clean the interior of the plastic tubing, you'd need to tread carefully as to not create scratch marks. Hard to see at first, but can become visible only once its all put back together - then replenished with fresh bird seeds.
Knowing that then, you'd need to be careful as you go as to not scratch up the interior, while then avoiding going to heavy on the exterior.
No scourer then, especially if its a brand new one as it could mark the clear plastic tube, so why not rely on a soft bristle brush only for the interior.
Soft bristle brush only
Once you have the clear plastic tube only in hand its going to be similar to holding a wide plastic tube with two open ends.
That will not only make it easy to hold as you clean, but there's nothing holding you back as you give it a thorough clean.
A ten minute soak in hot water would of helped a load, but now you'd need to use a soft bristle brush to clean the interior tubing - no other parts would need use of the brush.
If its a large, wide clear plastic tube then a brush won't be needed at all, as you could get in there with your hands if there's room, but that is still unlikely.
To use the brush, softly clean the interior with an up/down movement as you twist the handle of the brush to create a cleaning motion.
Do concentrate more on the middle of the tube interior as the outer edges can indeed be cleaned up by hand, while using a cloth or go lightly with a scourer.
Scourer to remove stubborn gunk
If at all possible never clean the clear plastic tube of the bird feeder with use of a scourer, and especially that of a hard, brand new scourer.
Instead, you'd want to reserve the scourer for cleaning up the hard to remove gunk that builds up on the solid plastic base - and its complicated moulded parts - including the area where the perches sit.
Not on the outside mind as its easy enough to clean; what I am referring to is the area that sits on the inside for weeks on end where seed moisture and gunk builds up over time - eventually drying up like glue.
Once again the base and its perch fixings can be made in plastic, which are more durable than the clear plastic tube. But you'd still need to be careful as to not risk scratching this plastic mould.
Scourers are not a piece of cloth that is naturally going to scratch up anything its going to come into contact with, so don't be afraid of its use. Instead you just need to clean with going gently at first, until you understand how much pressure can be used.
To conclude on tube feeder cleaning
How to clean a tube bird feeder would begin by disassembling all parts so they can be soaked in hot, soapy water - with use of washing up liquid.
No need for expensive, unnecessary detergents as washing up liquid is all we need.
Once you've disassembled all parts you should have up to 5 or 6 pieces. Its now time to place them all into hot soapy water at one time while giving them a soak for up to 10 minutes or more.
Feeders made into the clear plastic tube kind are prone to damage through scratching or unremovable markings - so you need to be careful when using a scourer or a harder brush of any kind as you clean.
With that in mind I recommend cleaning the clear plastic tube with a cloth plus a soft bristle brush for the interior.
More solid plastic and metal parts can be scrubbed with use of a scourer or harder brush, but you still need to go carefully as the risk of scratching parts is a possibility.
Focus your cleaning on the interior of the tube, plus the interior base area as this is where gunk and moisture builds up.